Waterproofing Work
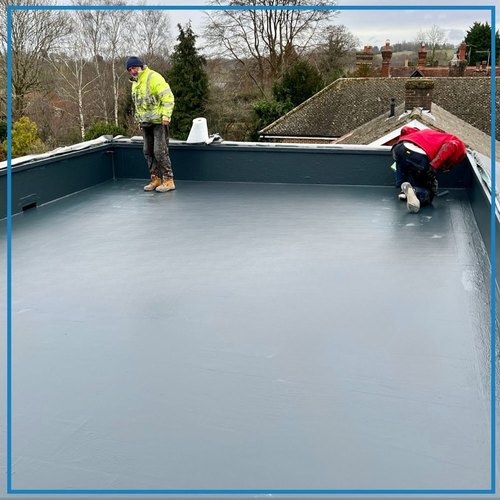
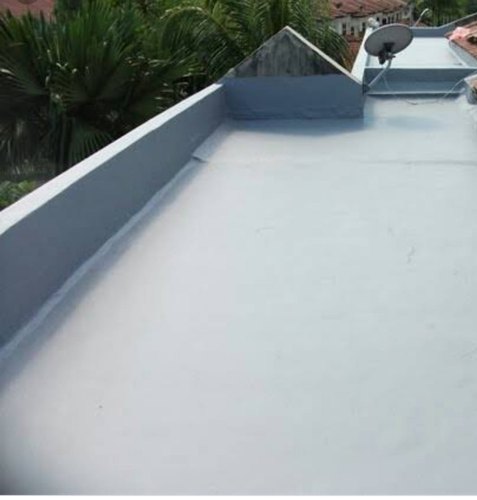
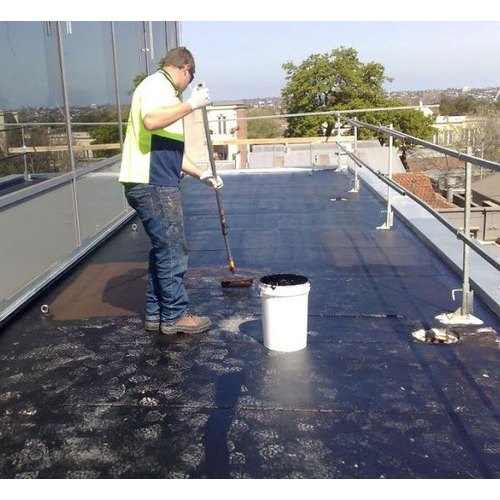
An improper waterproofing can cause severe issues and problems even in a new structure. A roof or a terrace is exposed to extreme weather conditions throughout the year. If a terrace or roof is not waterproofed properly it will lead to damp patches on the house ceiling. Worst case scenario, in severe cases water begins to seep down the ceiling, therefore, leading to leakage in the house.
INTRODUCTION :
Waterproofing is a precautionary measure to provide impermeability to the surface which comes in contact with water and exposed to weather by chanalising and draining out the water through outlets.
WATERPROOFING IS NECESSARY FOR :
- Structures in waterlogged areas (basement).
- Structure below ground levels.
- Toilets and W.C.
- Balconies and flat terraces.
- Roof terraces.
- OHWT/UGWT.
TYPES OF WATERPROOFING
- Box Type waterproofing.
- Brickbat coba
- Integrated waterproofing.
- Glazed china mosaic waterproofing.
- Membrane waterproofing.
- Tarfelt waterproofing.
- Chemical waterproofing.
PRECAUTIONS FOR BOX TYPE WATERPROOFING
- Clean the surface where waterproofing is to be done. Remove any wooden pieces, binding wire, nails, loose materials etc.
- Ensure shahabad tiles should not be less than 40mm thick and preferable sizes are 0.45mx0.60m or 0.6mx0.6m
- Sand used should be free from silt.
WORK PROCEDURE FOR BOX TYPE WATERPROOFING: –
- After completion of P.C.C. the above activity should start.
- Make the level dots on all corners of PCC bed.
- Prepare a cement mortar of 1:4 proportion.
- Level the mortar on the P.C.C bed with proper compaction.
- Keeping minimum joint thickness, lay the shahabad tiles with break joint patterns. Shahabad tiles should
Project minimum 0.15m from the raft and on all sides.
- Fill all the joints with thick cement paste and finish it properly.
- Curing should be done atleast for 7 days.
SIDE WALLS:
- After completion of RCC walls, hacking & cleaning of surface to be done properly.
- Mark the level dots on all sidewalls in right angle.
- Start fixing of rough shahabad tiles on vertical wall in plumb with thick cement paste.
- Ensure that vertical tiles should rest on the horizontal tiles projecting beyond the raft.
- After completion of two layers of tiles, joints to be filled properly with thick cement paste.
- Grouting should be done with thick cement slurry in layers of one tile only. On the next day follow this procedure up to the required level of waterproofing to be done and subsequently complete the work upto the required level.
- Seal the top layer of shahabad tiles with C.M.1: 2.
- Carry out smooth cement finish plaster over entire exposed rough shahabad surface up to foundation PCC level.
- Before backfilling, curing should be done for atleast 7 days.
BRICK BAT WATERPROOFING
WORK PROCEDURE: –
- Material required for brickbat waterproofing.
- Bricks should not be less than half width.
- Bricks should not be over burnt/ under burnt.
- Bricks should have Sharp edges.
- Sand should be free from silt
- Admixtures/chemicals as specified.
- Clean the surface where waterproofing is to be done. Any wooden pieces, binding wires and wire nails
are to be removed. - Clean all loose mortar over RCC surface.
- Rub the surface where waterproofing is to be done with wire brush
BASE COAT: –
- Fix G.I. spout at the locations where slope of base coat is to be given.
- Wet the area where base coat is to be done.
- Provide the base coat of 25mm to 32mm thick with slope of 1:100. from door frame towards spout.
- Continue the base coat up to 0.3m height on the walls.
- Curing should be done by ponding for atleast 7 days.
- Check for leakages.
BRICK BAT COBA: –
- After fixing of all nahani traps, ‘p’ trap, bend and all outlets, start with brickbat coba.
- Brick bats should be soaked in water thoroughly before fixing. Cover the spout with chicken mesh and place small quantity of 15mm metal over it for porosity.
- Prepare C.M. 1:6 and start fixing the brickbat.
- Fix the brickbat with staggered joint and with slope towards spout.
- The joints of brickbat should be 12 to 15mm.
- Cure it for atleast 7 days.
TOP COAT: –
- Top coat shall be finished in C.M. 1:4 and specified admixtures/chemicals.
- Dry mix the cement and sand properly in trays and add adequate quantity of water to prepare a workable paste.
- Spread the mortar over the brickbat. Fill the joints properly by tamping with trowel.
- Finish the top coat with wooden float up to 0.3m above floor level and slope towards spout.
- Spread the cement paste on top and finish with float.
- Use of dry cement should not be allowed.
- Curing should be done atleast for 7 days.
TERRACE WATERPROOFING: –
- Clean the surface where W/P is to be done. Any wooden pieces, binding wire, wire nails and loose mortars are to be removed.
- Rub the surface to be waterproofed with wire brush.
- Finalize the location and size of the rainwater outlet considering the catchment area of water and slope to be given.
- Fix the rainwater outlet with the bottom of the pipe minimum 50mm above the slab level.
- Cure it by ponding for atleast 7 days.
- As per finalized levels and slope, mark the level dots on floor and fix the line string.
- Brickbat should be soaked in water thoroughly before application.
- Prepare C.M. 1:6 and start fixing brickbat.
- Fix the brickbat with staggered joint and with slope towards spout.
- The joints of brickbat coba should be 12 to 15mm only.
- Plug the rainwater outlet.
- Fix small pieces of brickbat along with 20mm metal for covering along the bottom of parapet wall and adjoining walls.
TOP COAT: –
- Top coat to be finished in C.M. 1:4 and specified admixtures/chemicals.
- Dry mix the cement and sand properly in trays and add adequate quantity of water to prepare a workable paste.
- Spread the mortar over the brickbat. Fill the joints properly by tamping with trowel.
- Finish the top coat with wooden float, up to 0.3m above floor level on the wall and slope towards spout.
- Spread the cement paste on top and finish with float.
- Use of dry cement should not be allowed.
- Mark the lines forming a grid of 0.3m x0.3m with the help of cotton line string of minimum 3mm thickness to avoid cracking of top layers.
- Check for local depression and footmarks if any and finish the same immediately.
- Curing should be done for atleast 21 days by ponding.
EXPANSION JOINTS: –
A special waterproofing treatment along with the expansion joint is required for:
- Vertical expansion joints.
- Horizontal expansion joints.
PREREQUISITE: –
- Clean the joint surface from dust, cement mortar and remove oil and grease, and other residuals if any, from the surface
- To avoid over filling of sealant, protect the edges of the joint by a masking tape.
- Work is carried out by suspended scaffolding with various tools.
WORK PROCEDURE: –
- Apply primer at the joints.
- Prepare sealant by mixing base and accelerator by weight until homogeneous mix is obtained.
- Apply this mix is applied with a spatula or hand held gun in required position.
- All extra material is cut off and removed by putty knife.
- Remove the masking tape and clean the surface.


